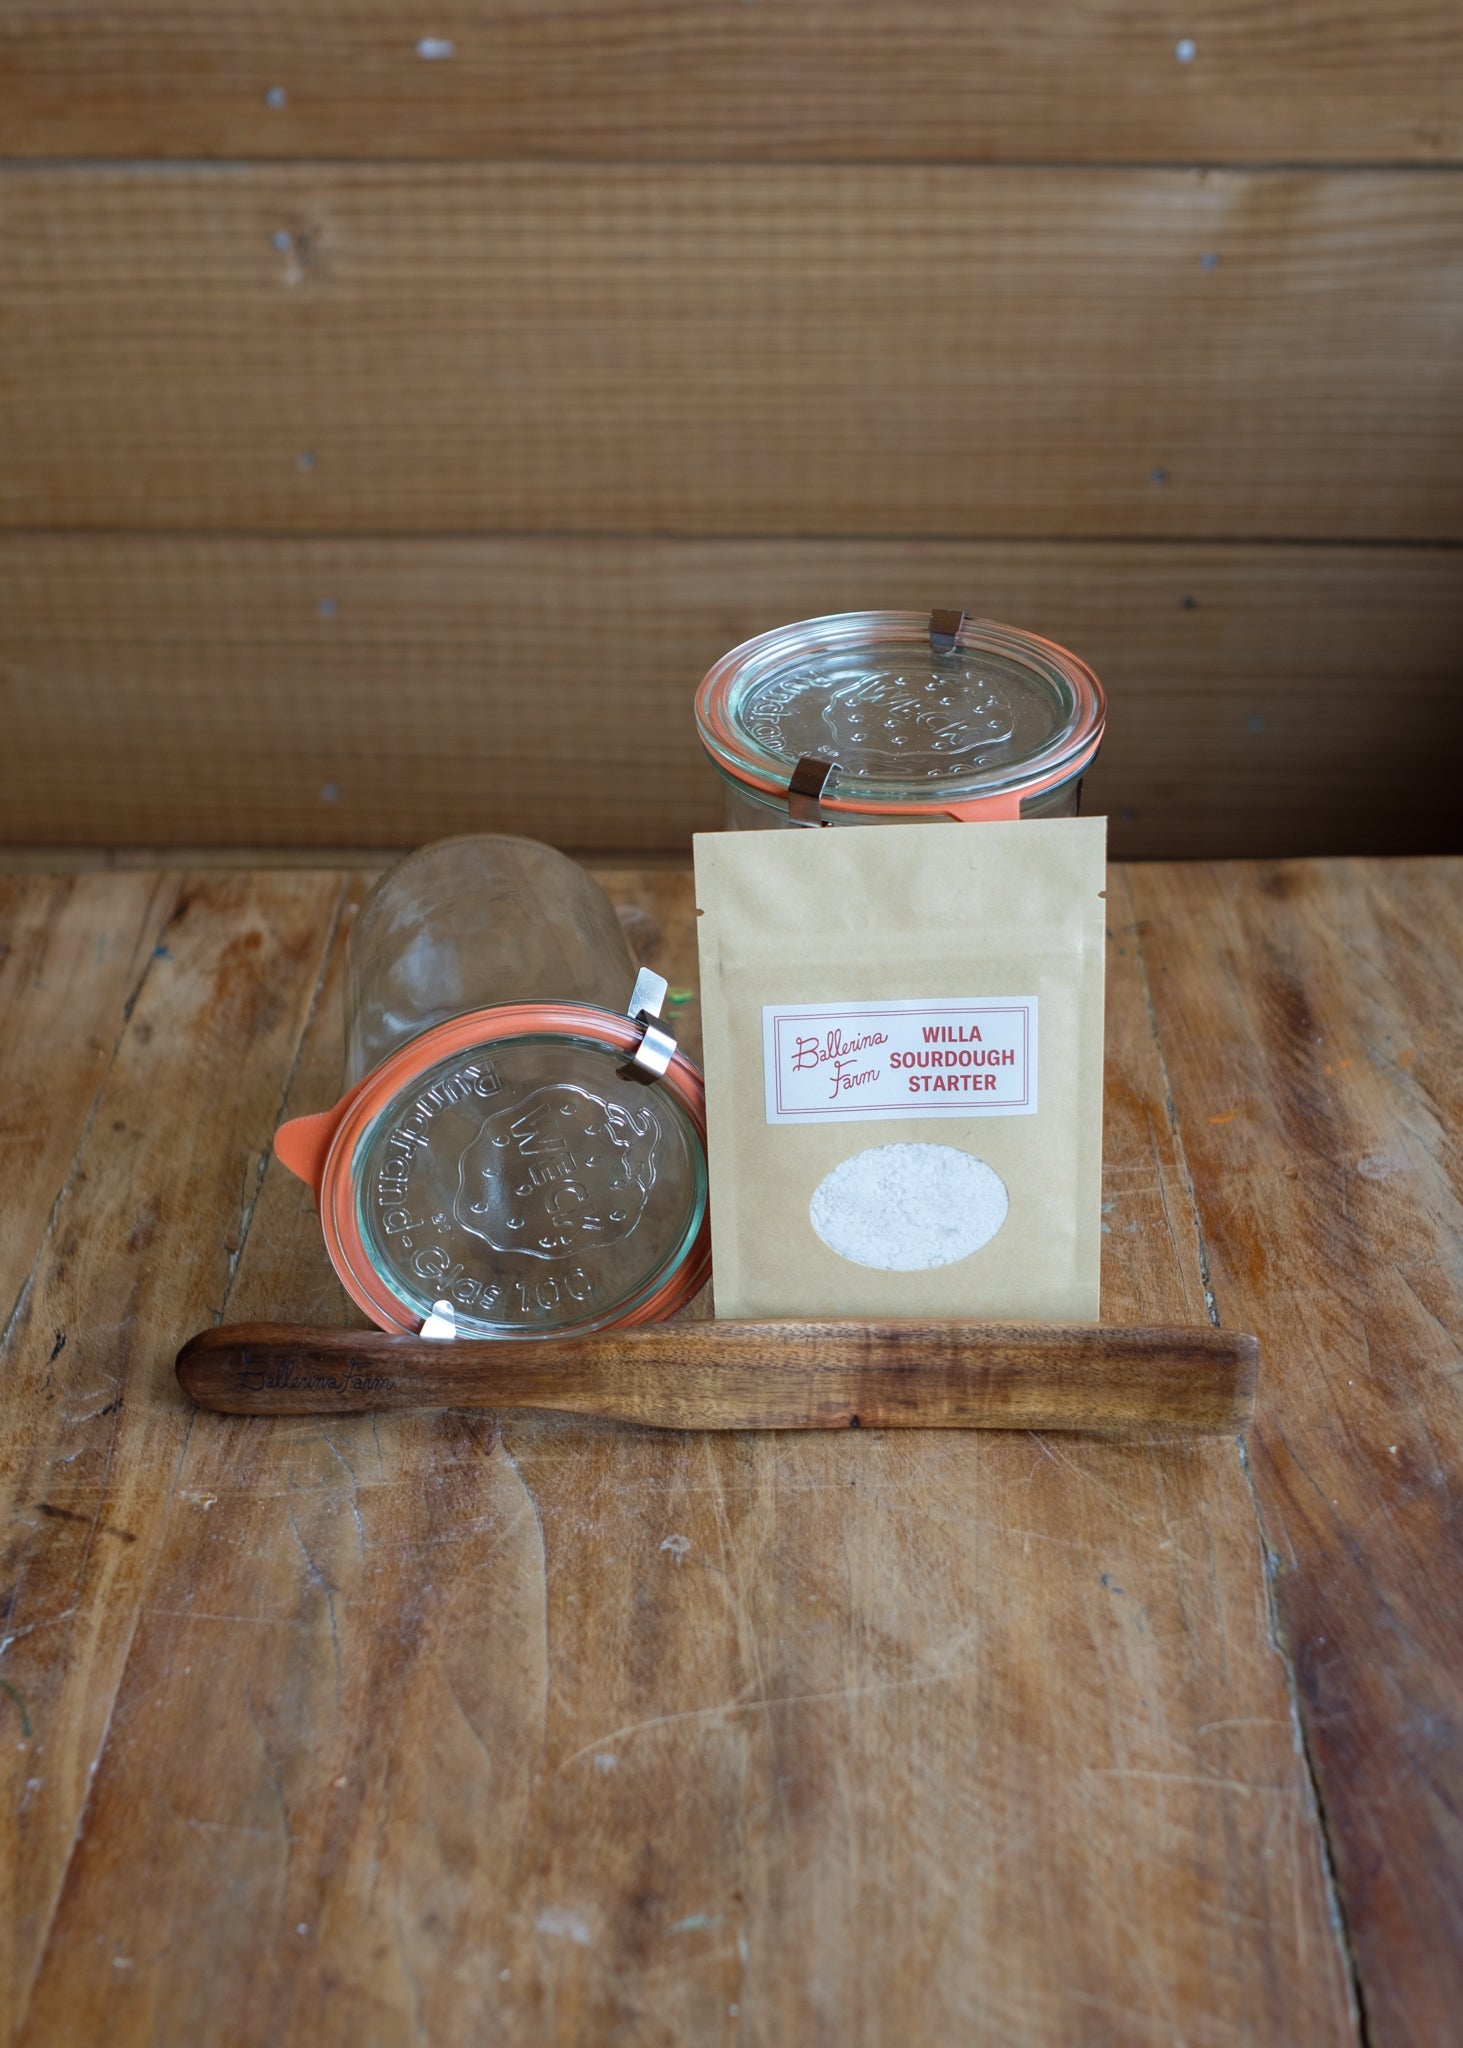
Supplies
Ingredients
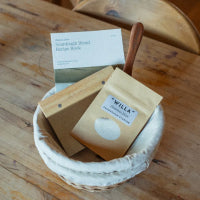
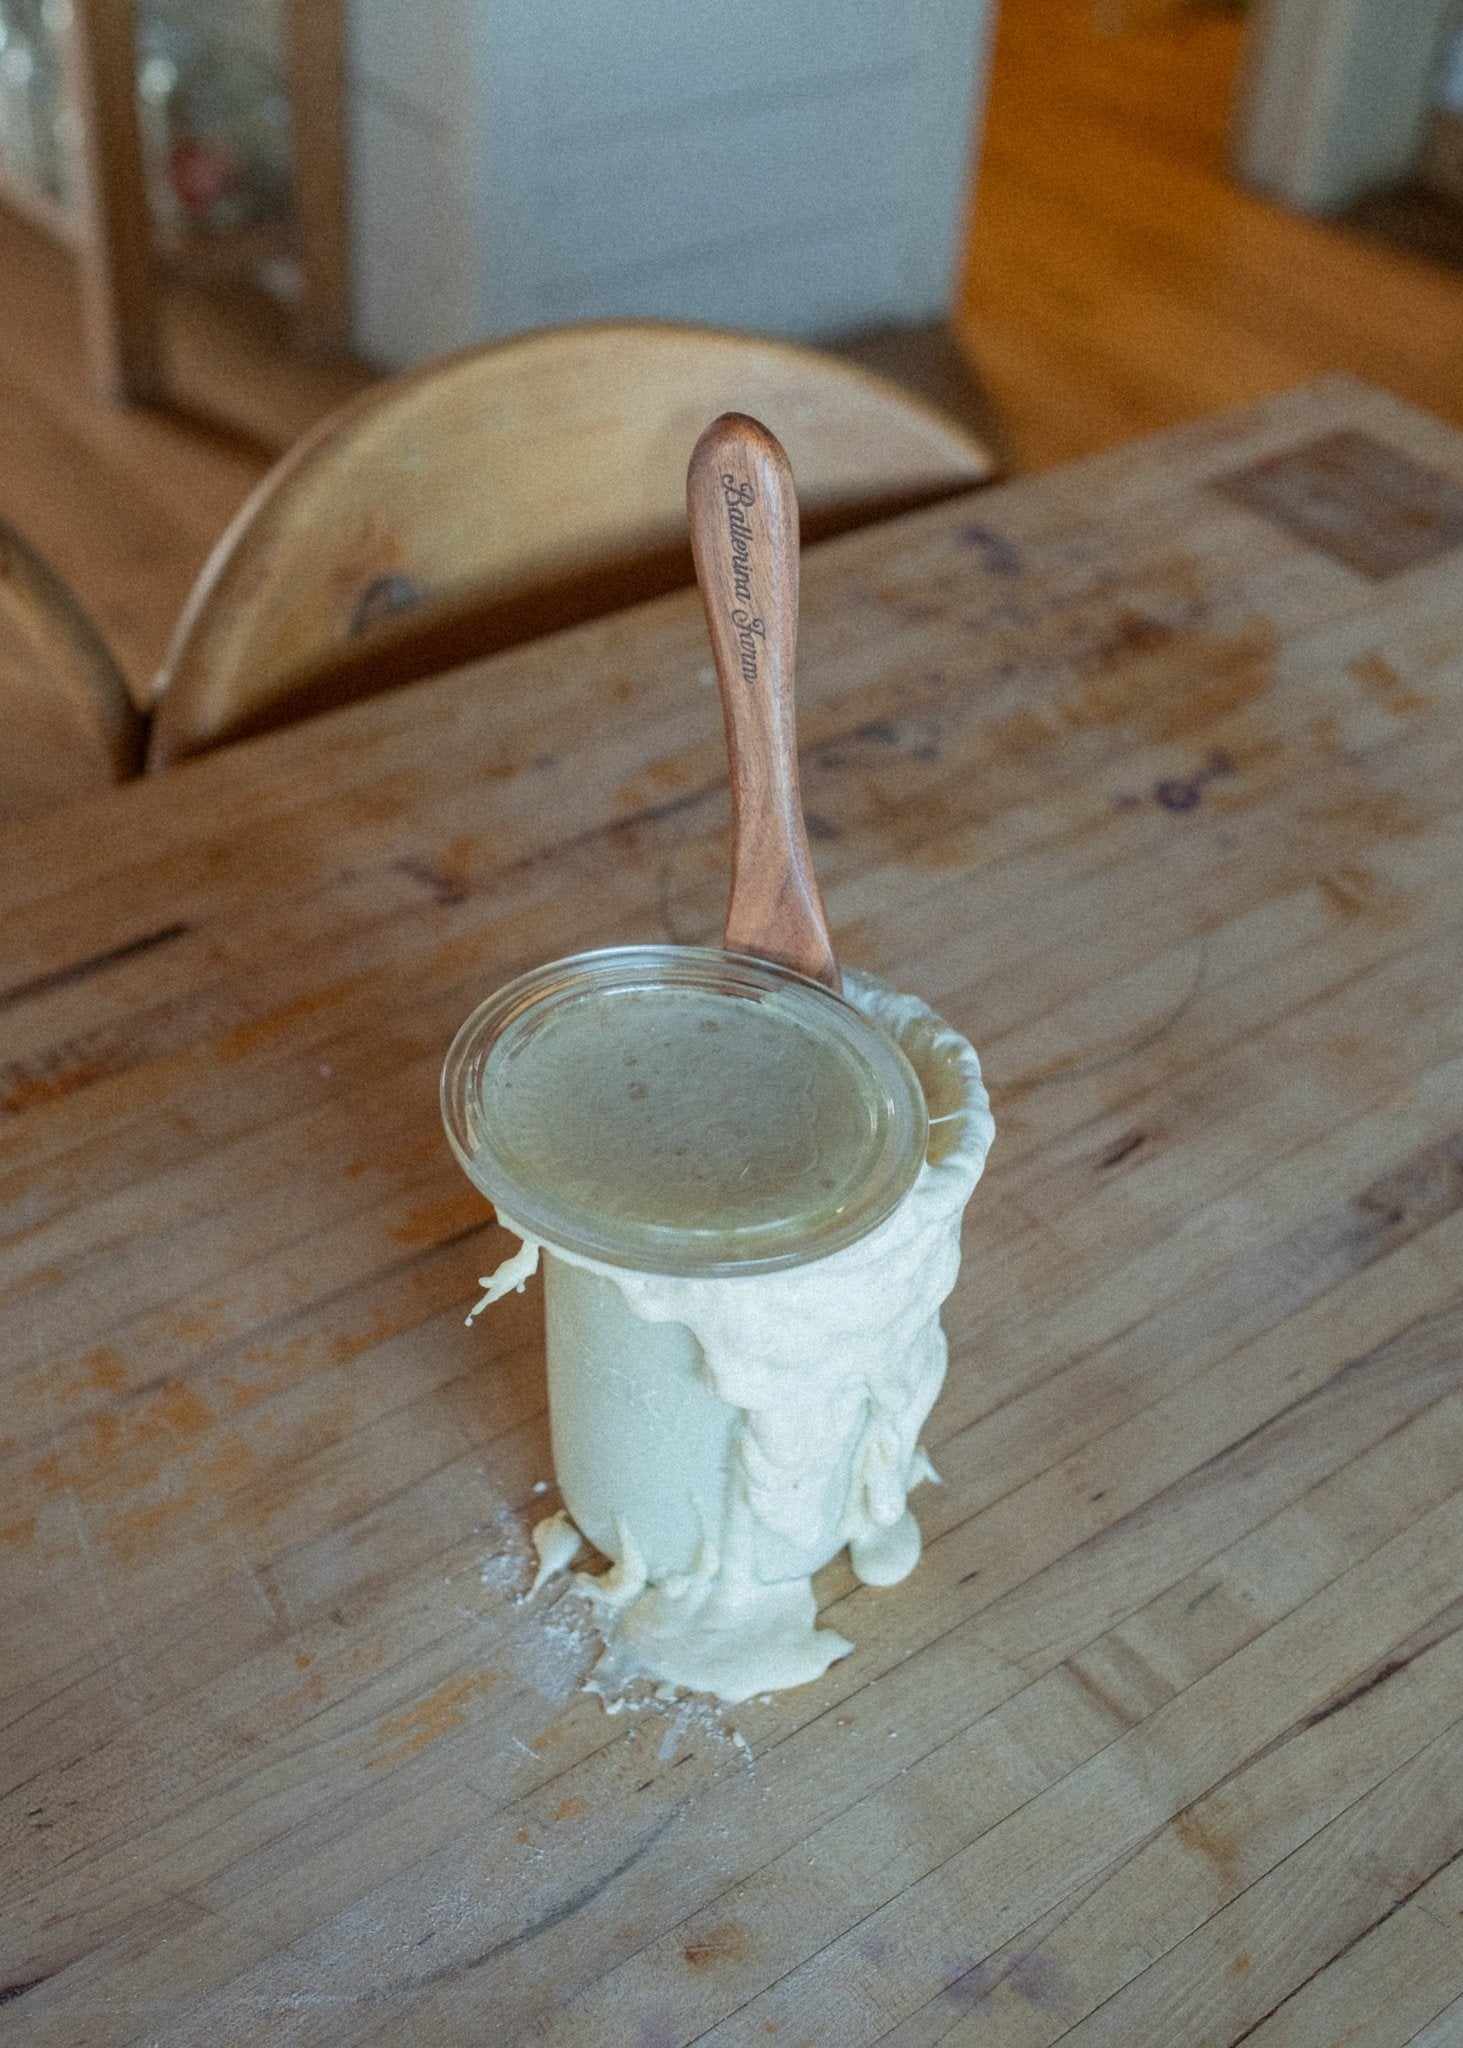
- Willa Sourdough Starter
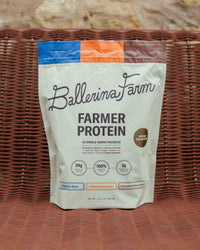
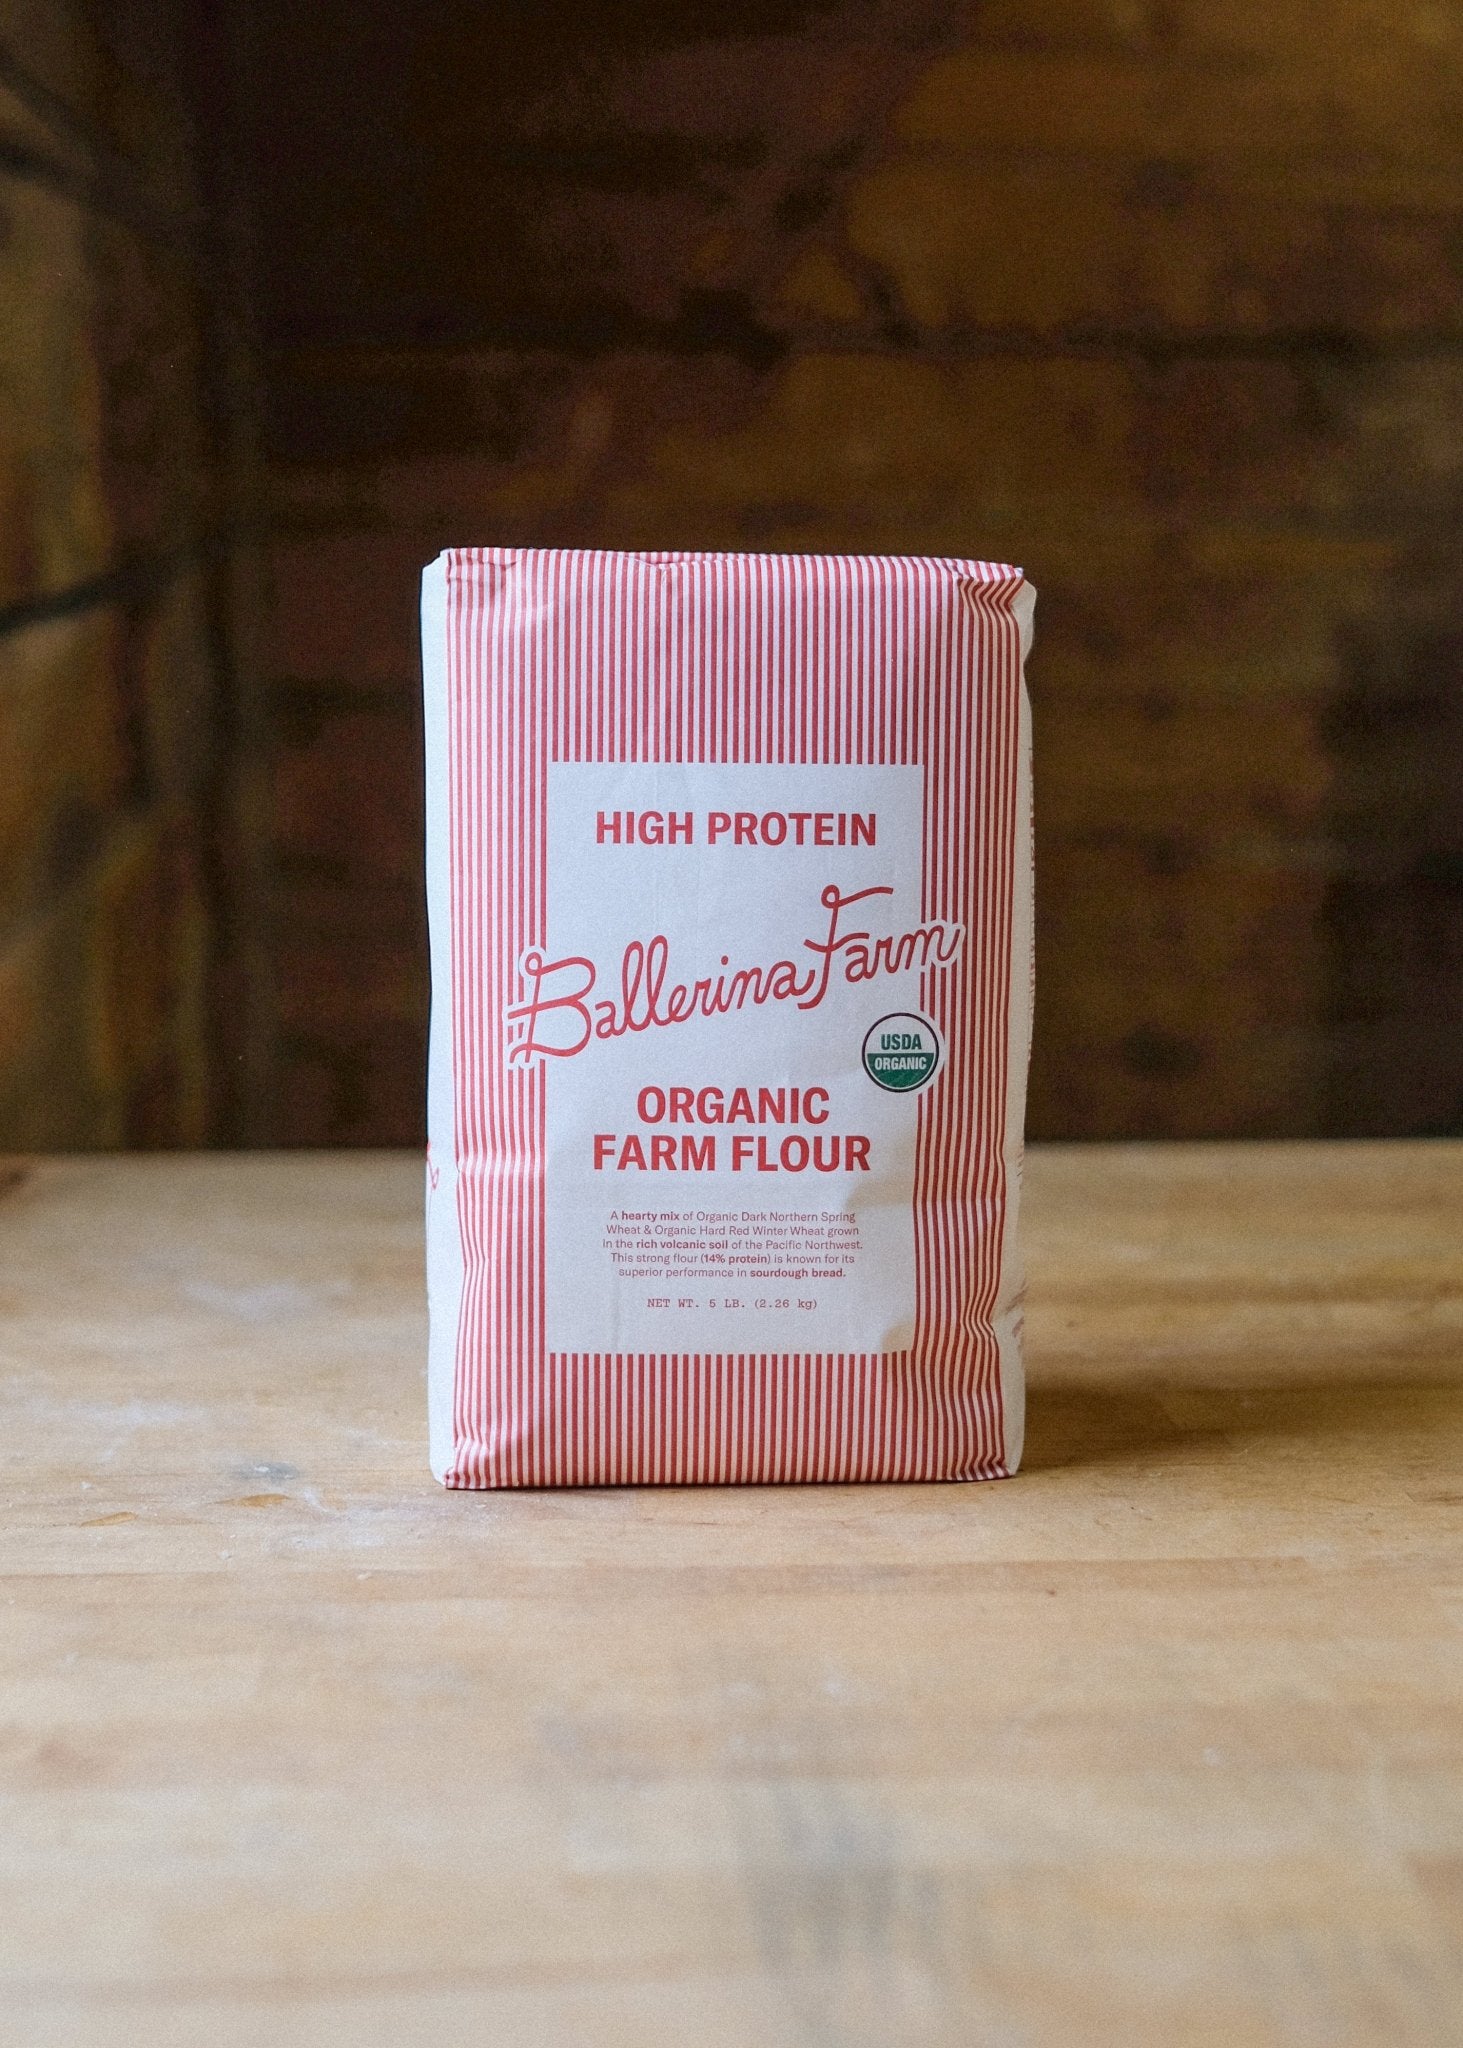
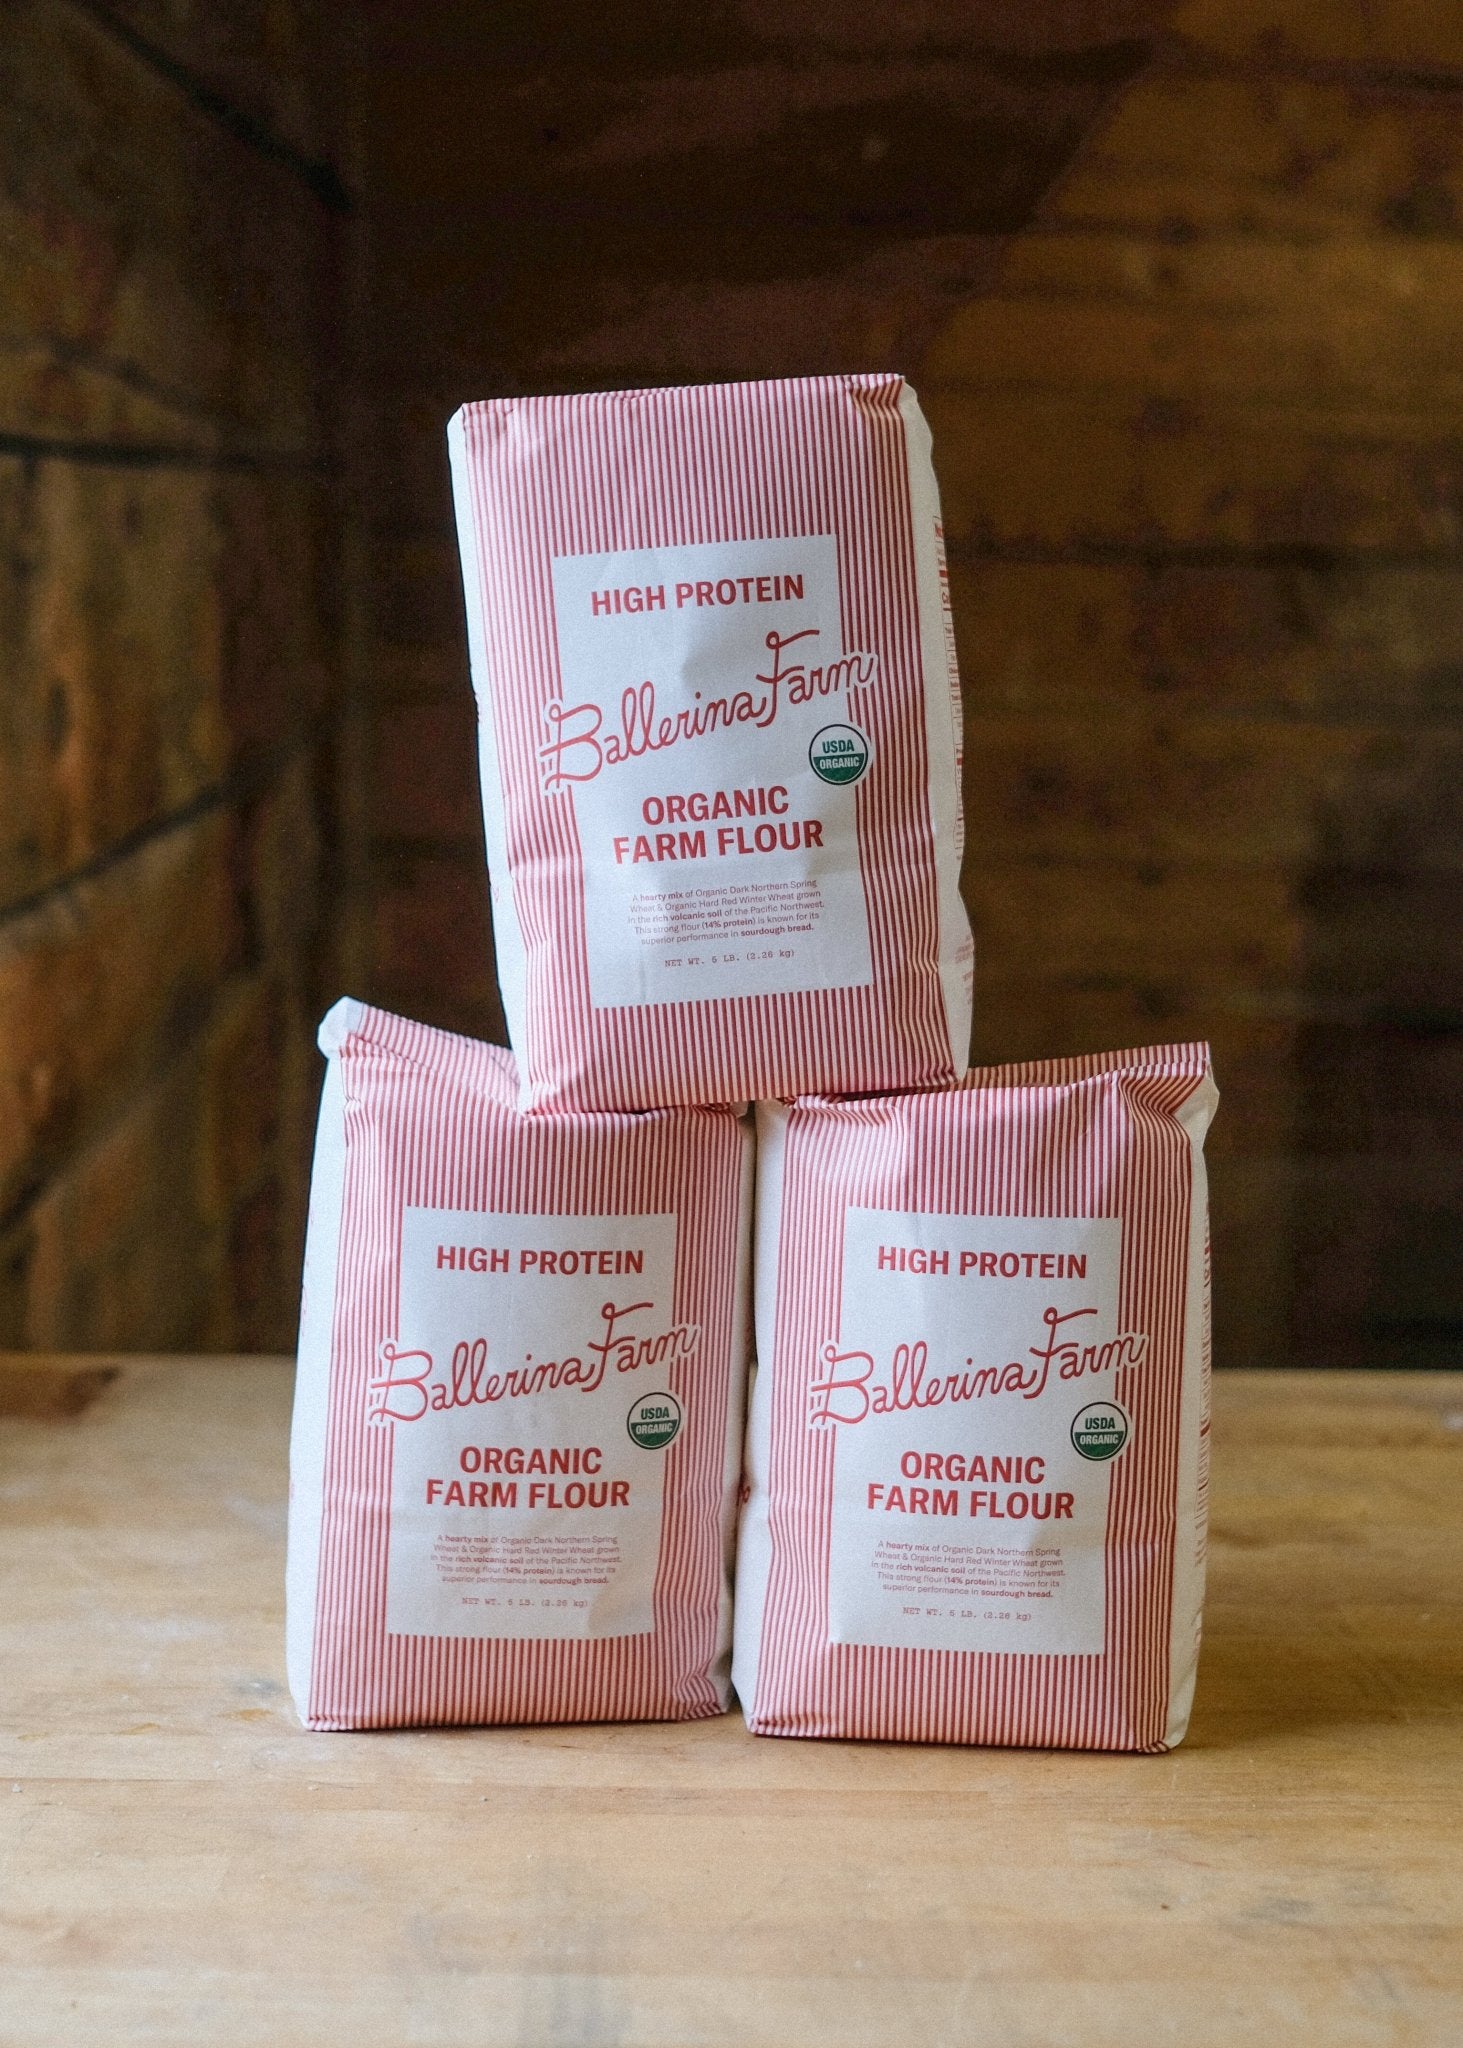
- Ballerina Farm High Protein Farm Flour
- Filtered water*
Tools
- Kitchen Scale
- Two, 1 quart Glass Jars with Sealable Lids (we love to use Weck Jars)
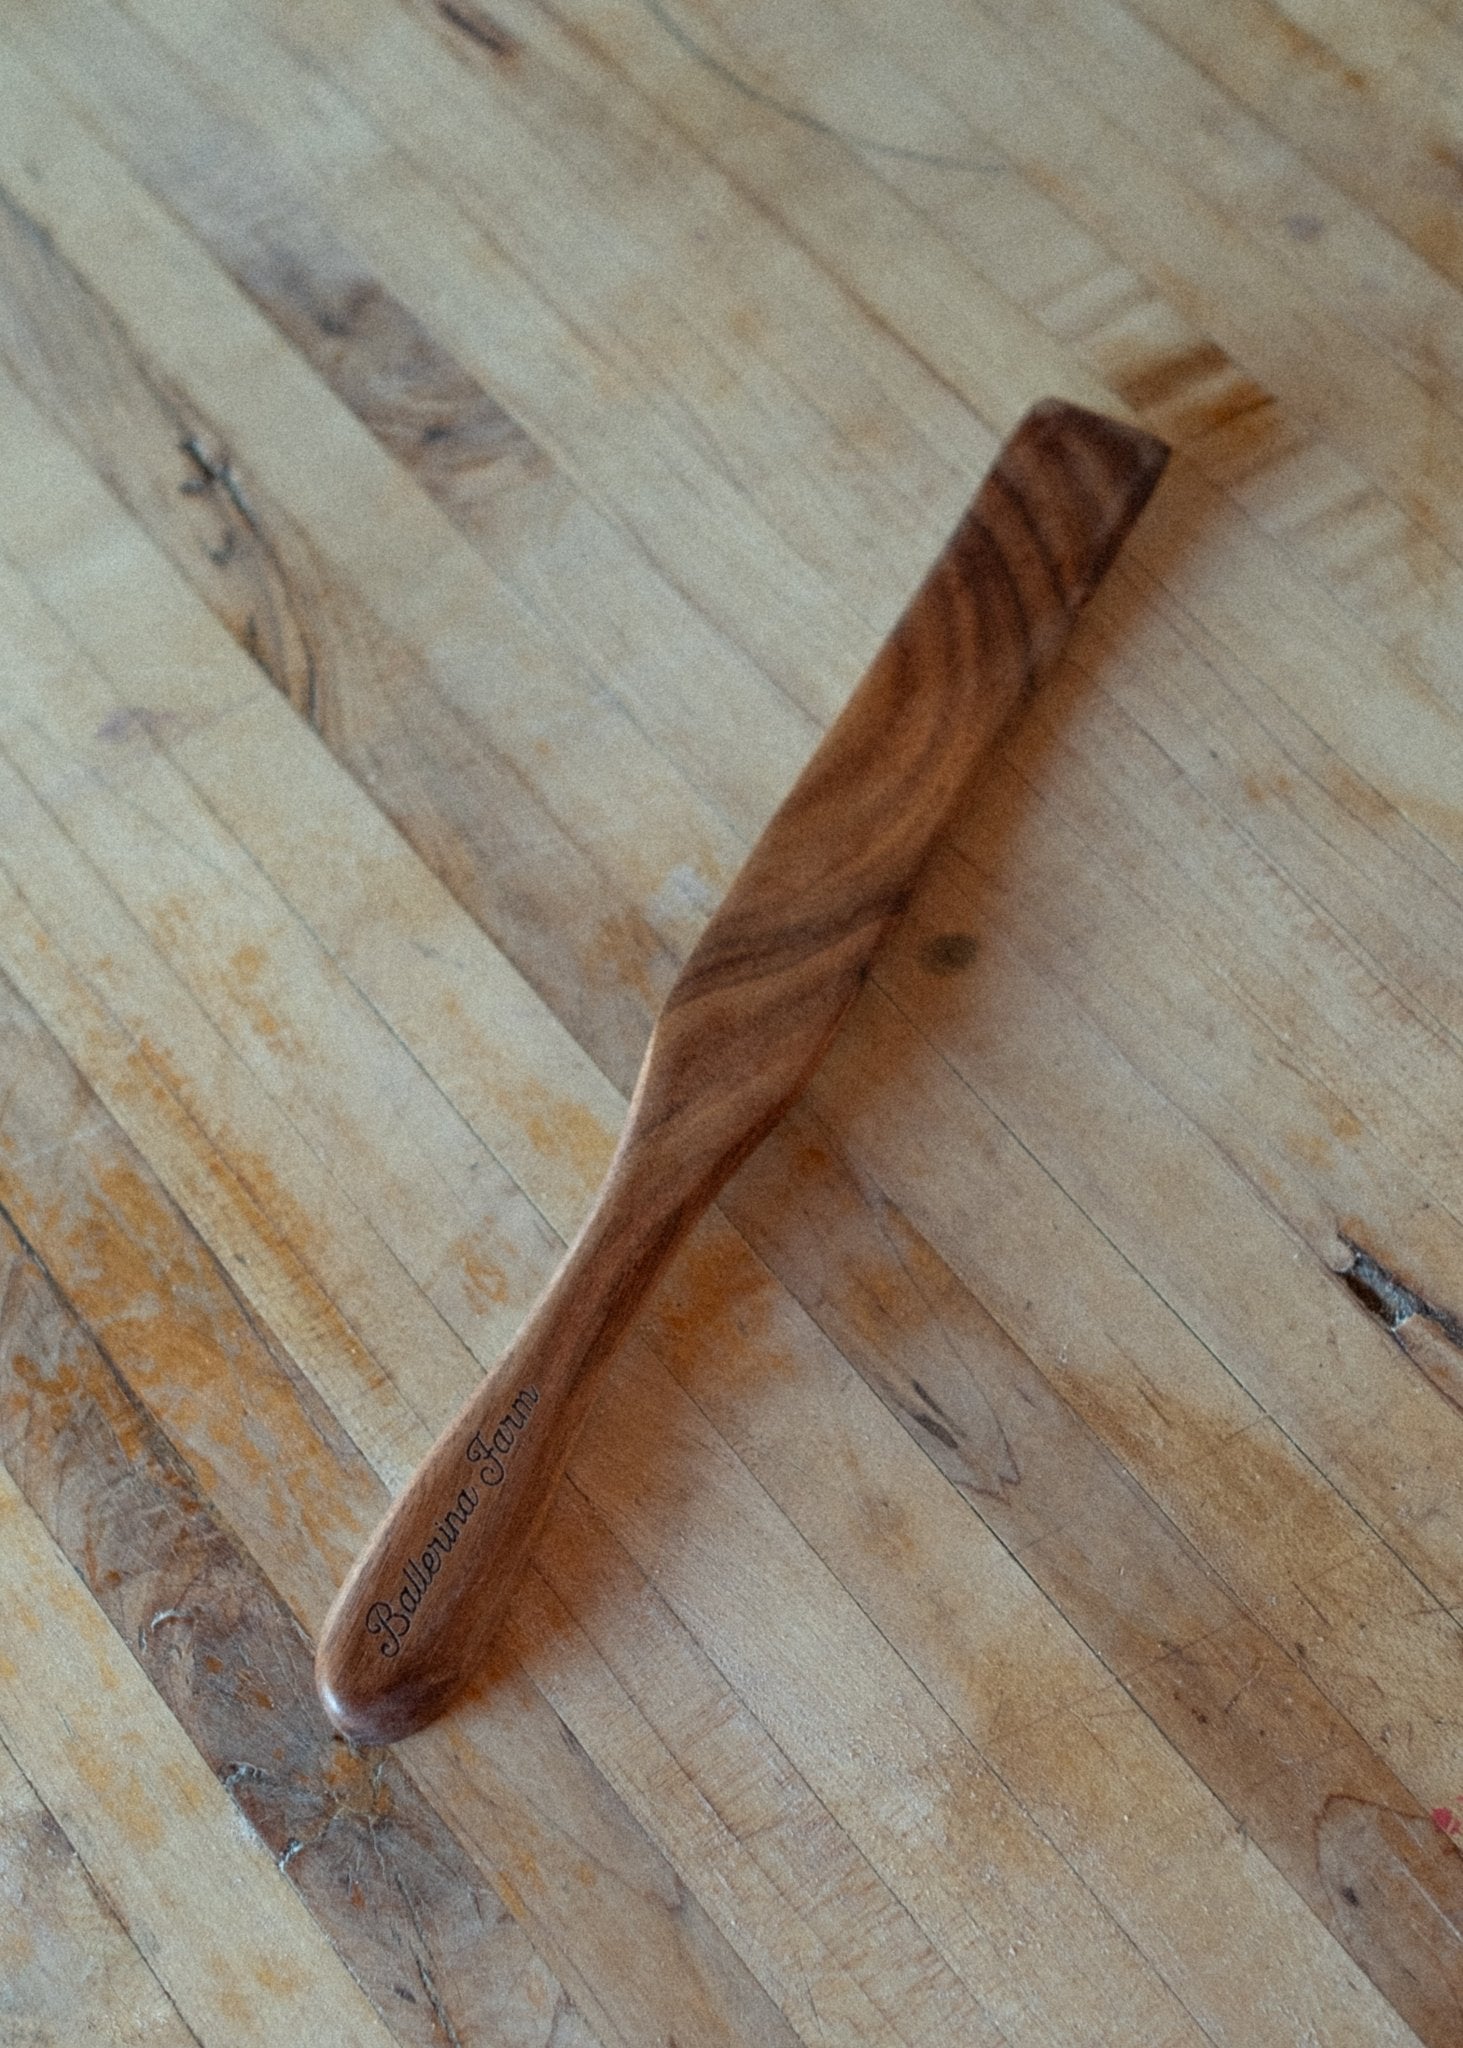
- Wooden Spatula or Spoon
- Sourdough Kit
*If your tap water comes from the city water supply, consider using filtered or bottled water to avoid traces of chlorine which may potentially damage your starter.
Day 1—Morning
Place 5 grams dried sourdough starter in one of the 1 quart glass jars. Add 50 grams of warm water to the jar. Stir until the dry starter is completely submerged in the water. Let this mixture sit for a few minutes, allowing the starter to absorb the water. Next, add 20 grams of Ballerina Farm High Protein Farm Flour and stir with a spatula until well combined. Cover loosely with a lid (slightly screwed on but not tight) and store at room temperature for 24 hours. We are using slightly more water than flour in this first feeding because a more hydrated starter allows the good bacteria to ferment more effectively.
Day 2—Morning
The mixture will look smooth but not alive yet. Some of the water might have separated from the mixture, this is normal. With both 1 quart jars in front of you (one with the starter mixture and the other clean and empty), transport 10 grams of starter mixture into the clean jar and discard the remaining mixture in the old jar. Add 25 grams of room temperature water and 25 grams of flour. Mix with a wooden spatula until well combined. Cover loosely with a lid and store at room temperature for 24 hours.
Day 3—Morning
The mixture will look smooth and thin, and you may notice a few bubbles on the surface. Some of the water might have separated from the mixture, this is normal. With both 1 quart jars in front of you (one with the starter mixture and the other clean and empty), transport 10 grams of starter mixture into the clean jar and discard the remaining mixture in the old jar. Add 25 grams of room temperature water and 25 grams of flour. Mix with a wooden spatula until well combined. Cover loosely with a lid and store at room temperature for 24 hours.
Day 4—Morning
The mixture won’t look much different, besides a few more bubbles on the surface. Repeat the same steps with both 1 quart jars in front of you (one with the starter mixture and the other clean and empty), transport 10 grams of starter mixture into the clean jar and discard the remaining mixture in the old jar. Add 25 grams of room temperature water and 25 grams of flour. Mix with a wooden spatula until well combined. Cover loosely with a lid and store at room temperature for 24 hours.
Day 4—Evening
About 12 hours later, you’ll notice the starter has slightly grown. There will be many small bubbles on the surface and sides of the jar. Continue storing at room temperature.
Day 5—Morning
You’ll notice the starter has grown in volume. There will be small and big bubbles not only on the surface of the mixture but also below (these can be seen through the side of your glass jar). At this point, you can start baking with your starter. Congratulations! From this point forward, you’ll feed your starter daily by combining 30 grams of starter mixture, 125 grams of water and 140 grams of flour. (For detailed instructions on daily feedings, see pages 4-5).
Common Issues
If your starter is bubbly but not rising after you’ve completed the 5-day rehydration instructions and fed your starter a few times, double-check the feeding instructions on page 4 and make sure you are following them closely. If you are still having issues, temperature could be your problem. Starter loves warmth, around 76° Fahrenheit and if your current storage space isn’t warm, we suggest placing it in an area such as close to a fireplace, next to your oven, or in a cupboard close to a heater (not too close, we don’t want to risk cooking the mixture).
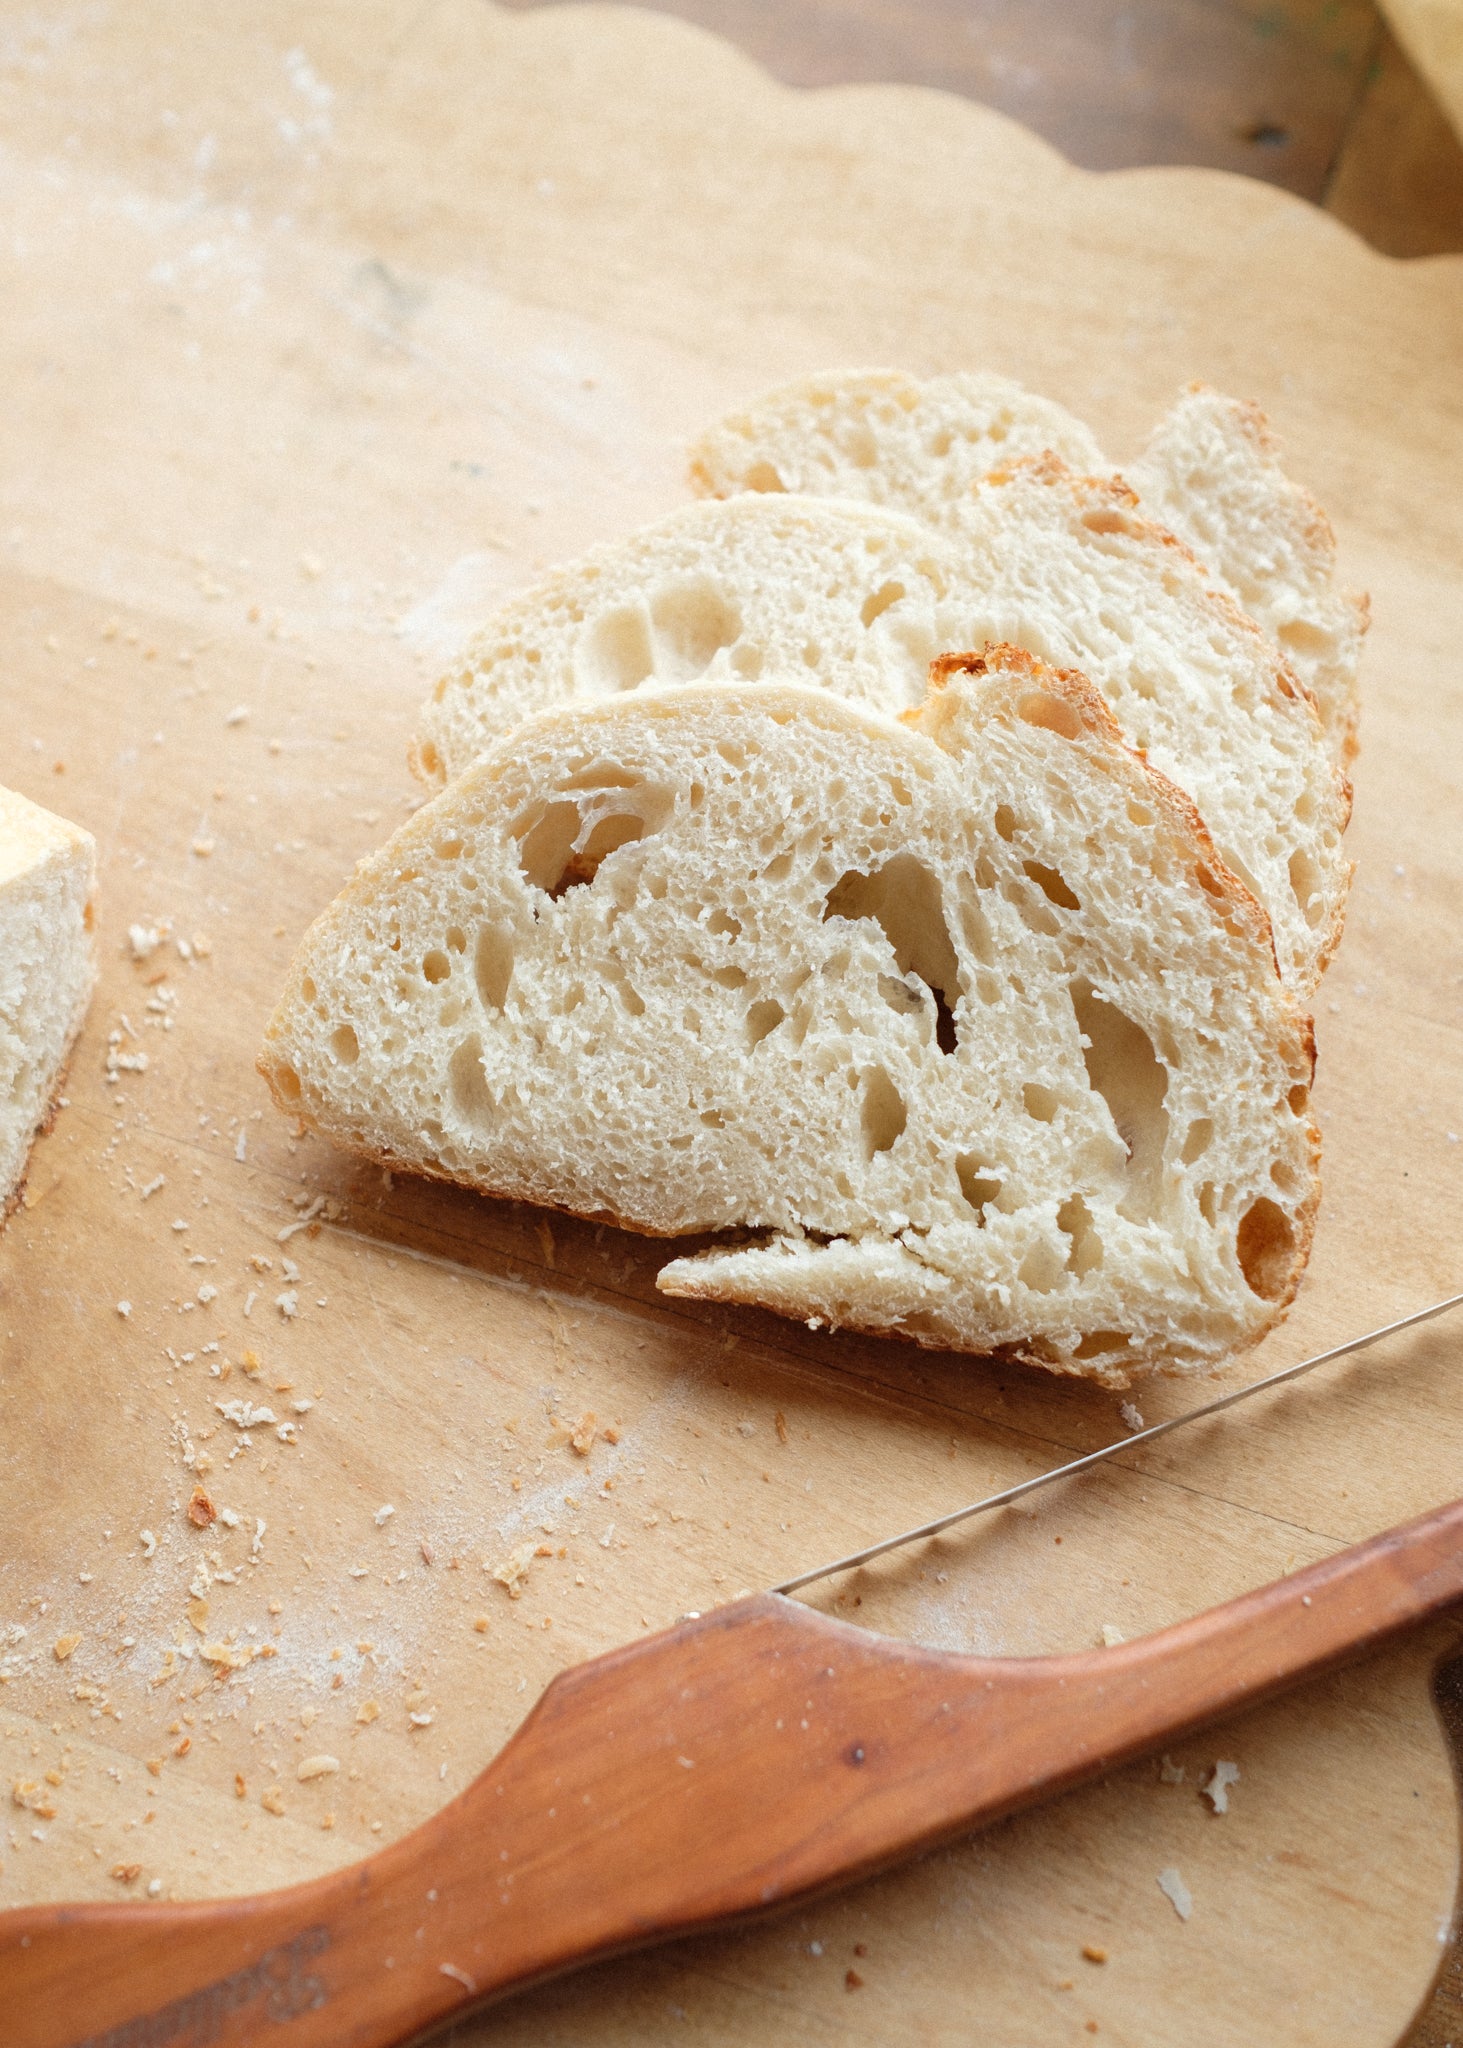
Ready to Bake Your Own Bread?
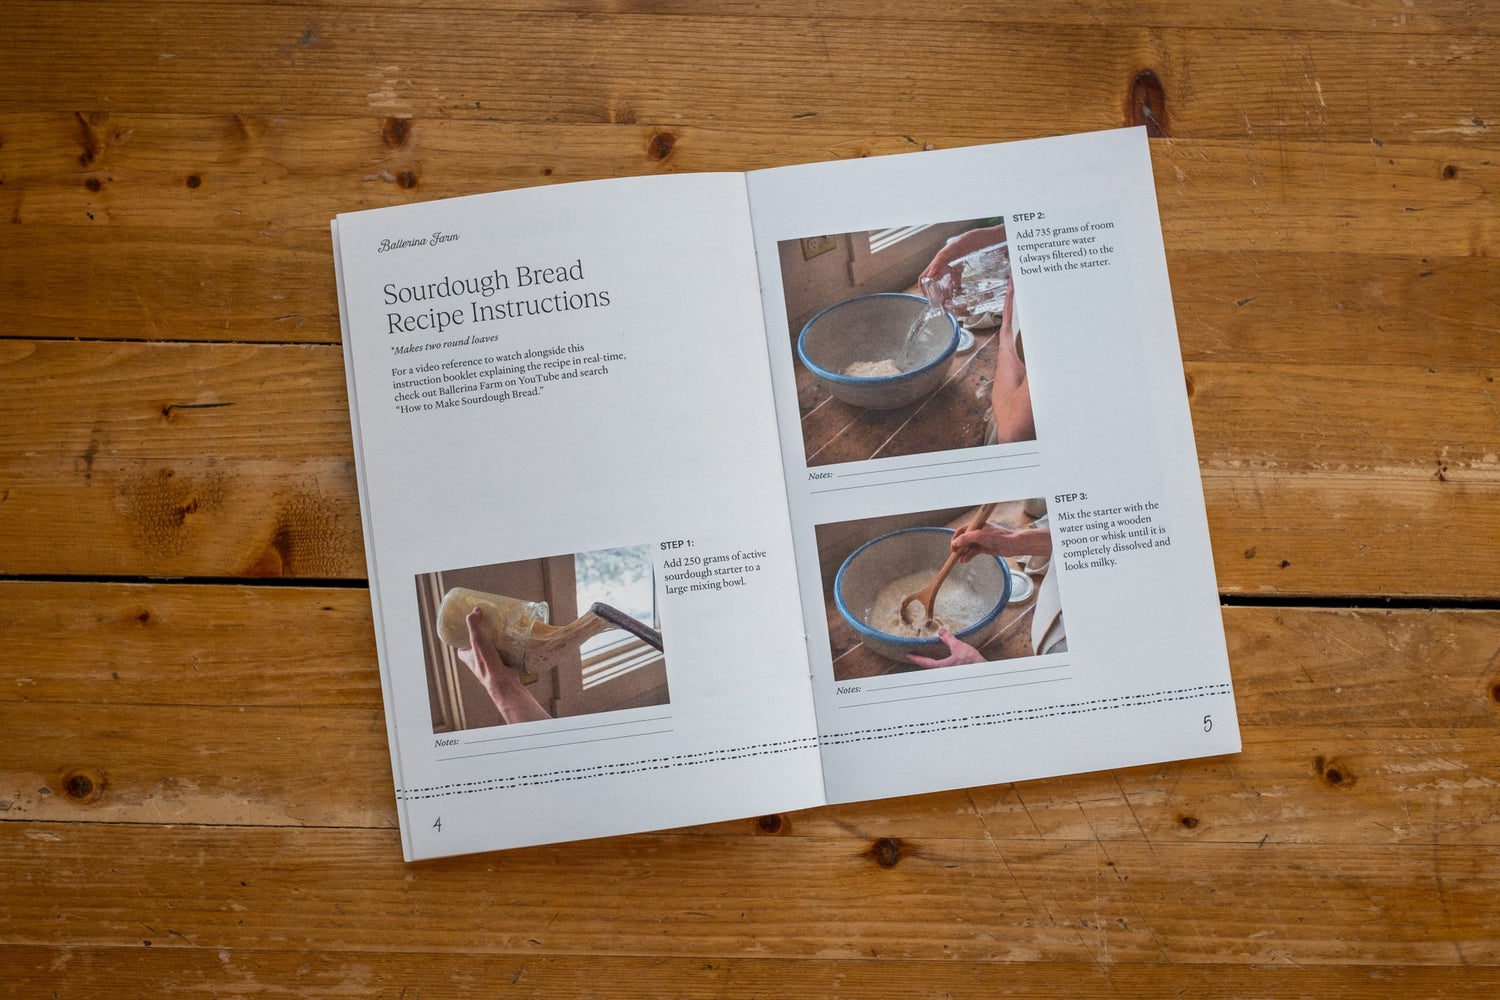
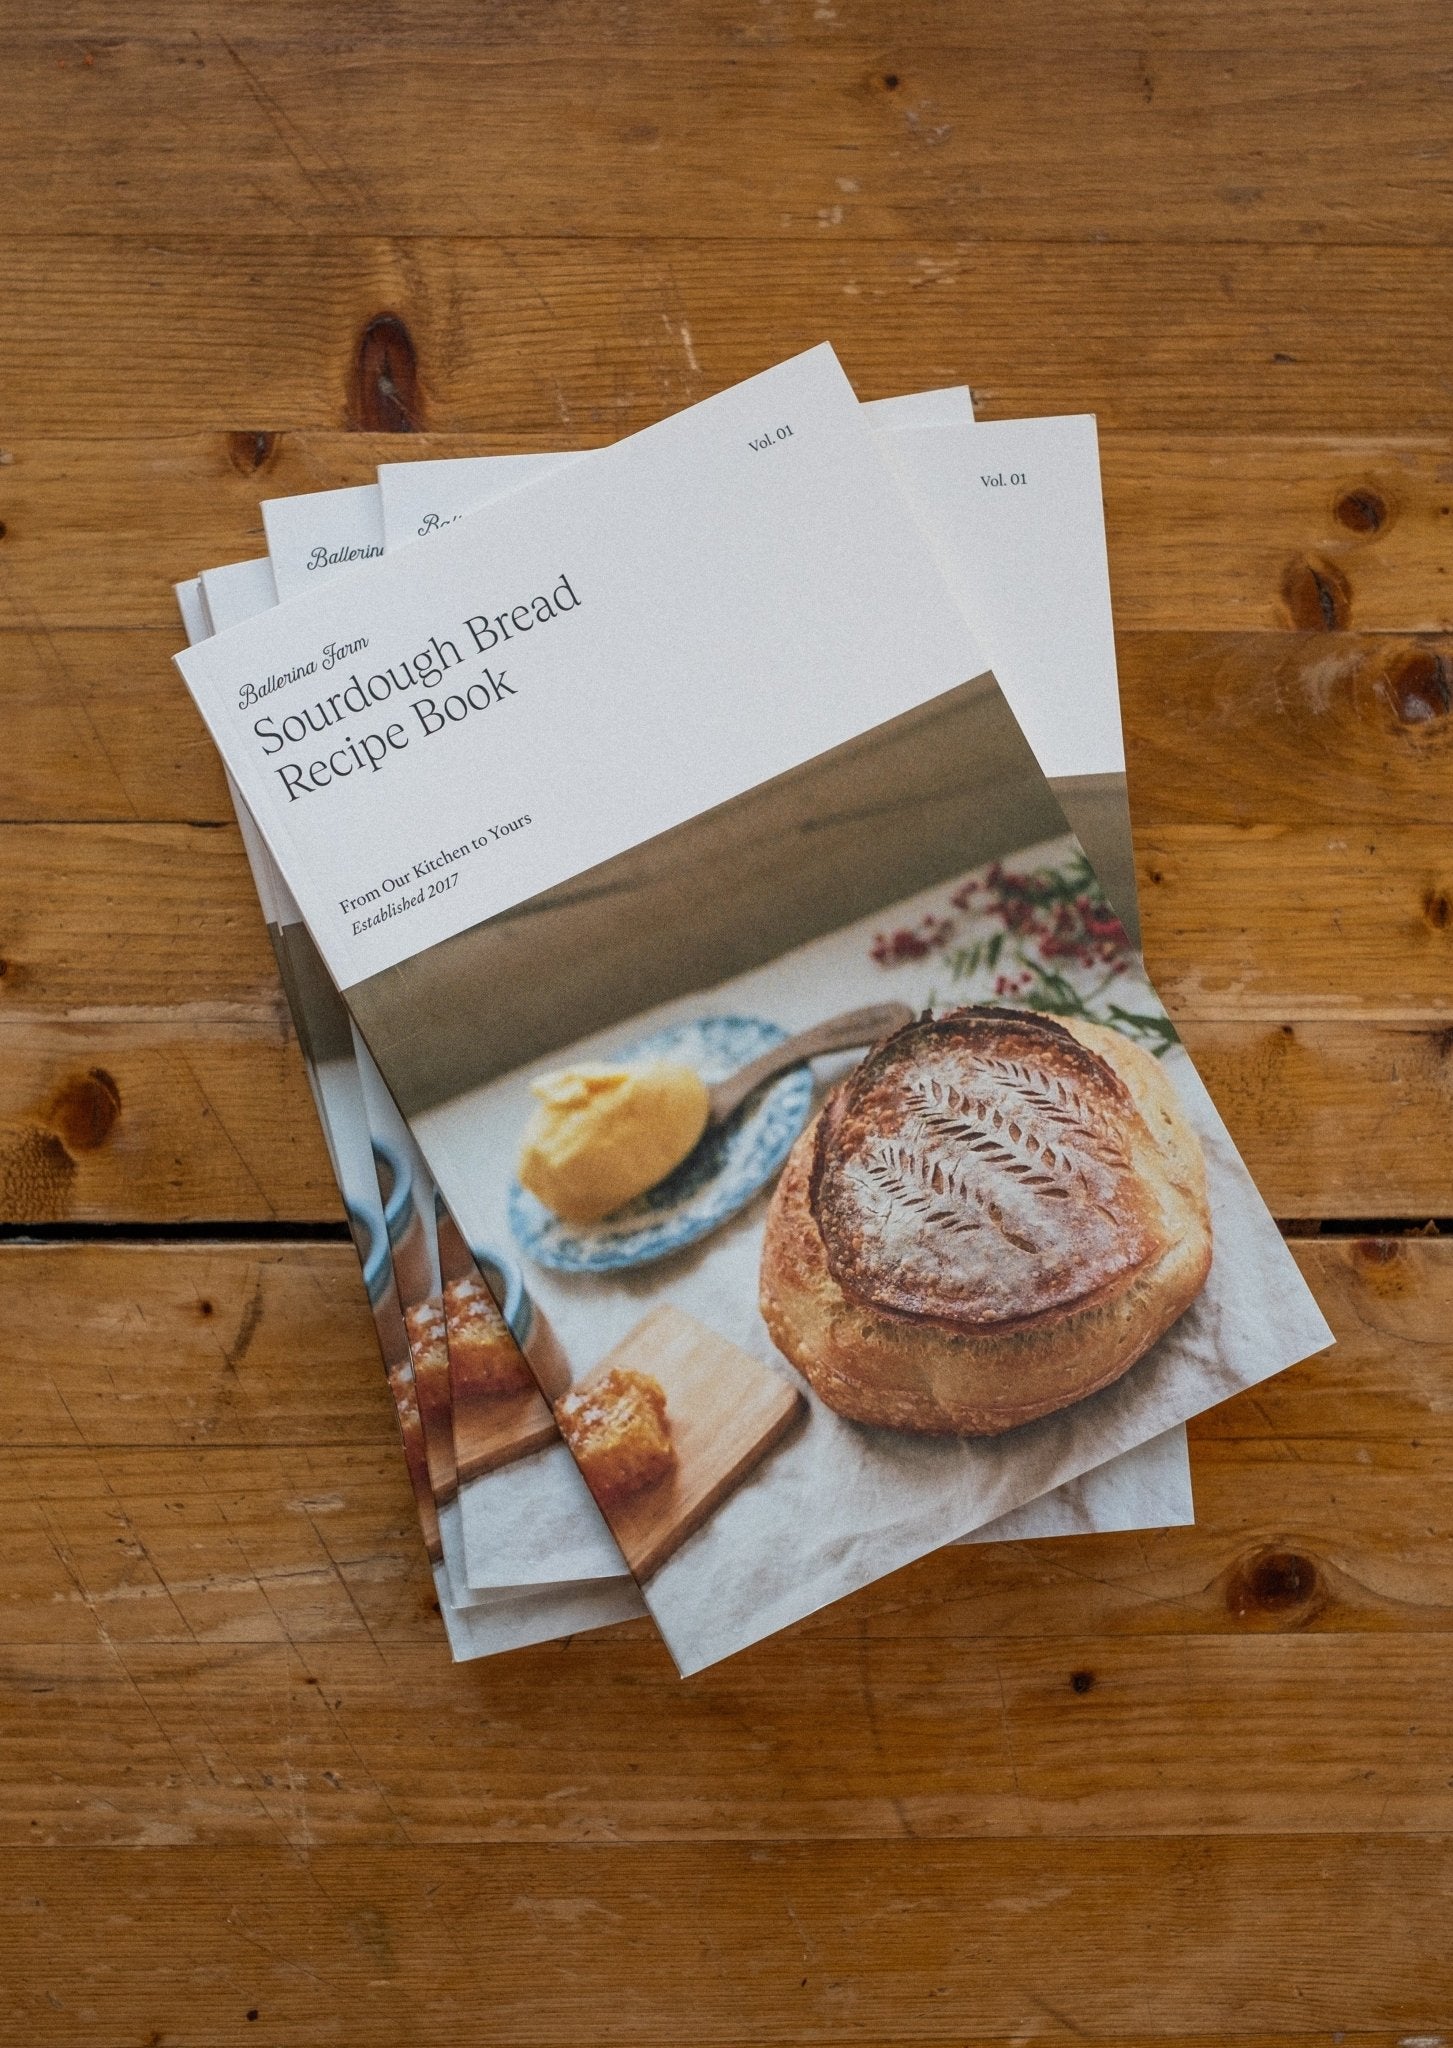
Hannah has gathered her step-by-step instructions in the Sourdough Bread Recipe Book to make the process easy and approachable. You can also follow along with her video here. Happy baking!
