Supplies
Ingredients
- 30 grams rehydrated Willa sourdough starter
- 140 grams Ballerina Farm high protein farm flour
- 125 grams filtered water*
Tools
- Kitchen Scale
- Two, 1 quart Glass Jars with Sealable Lids
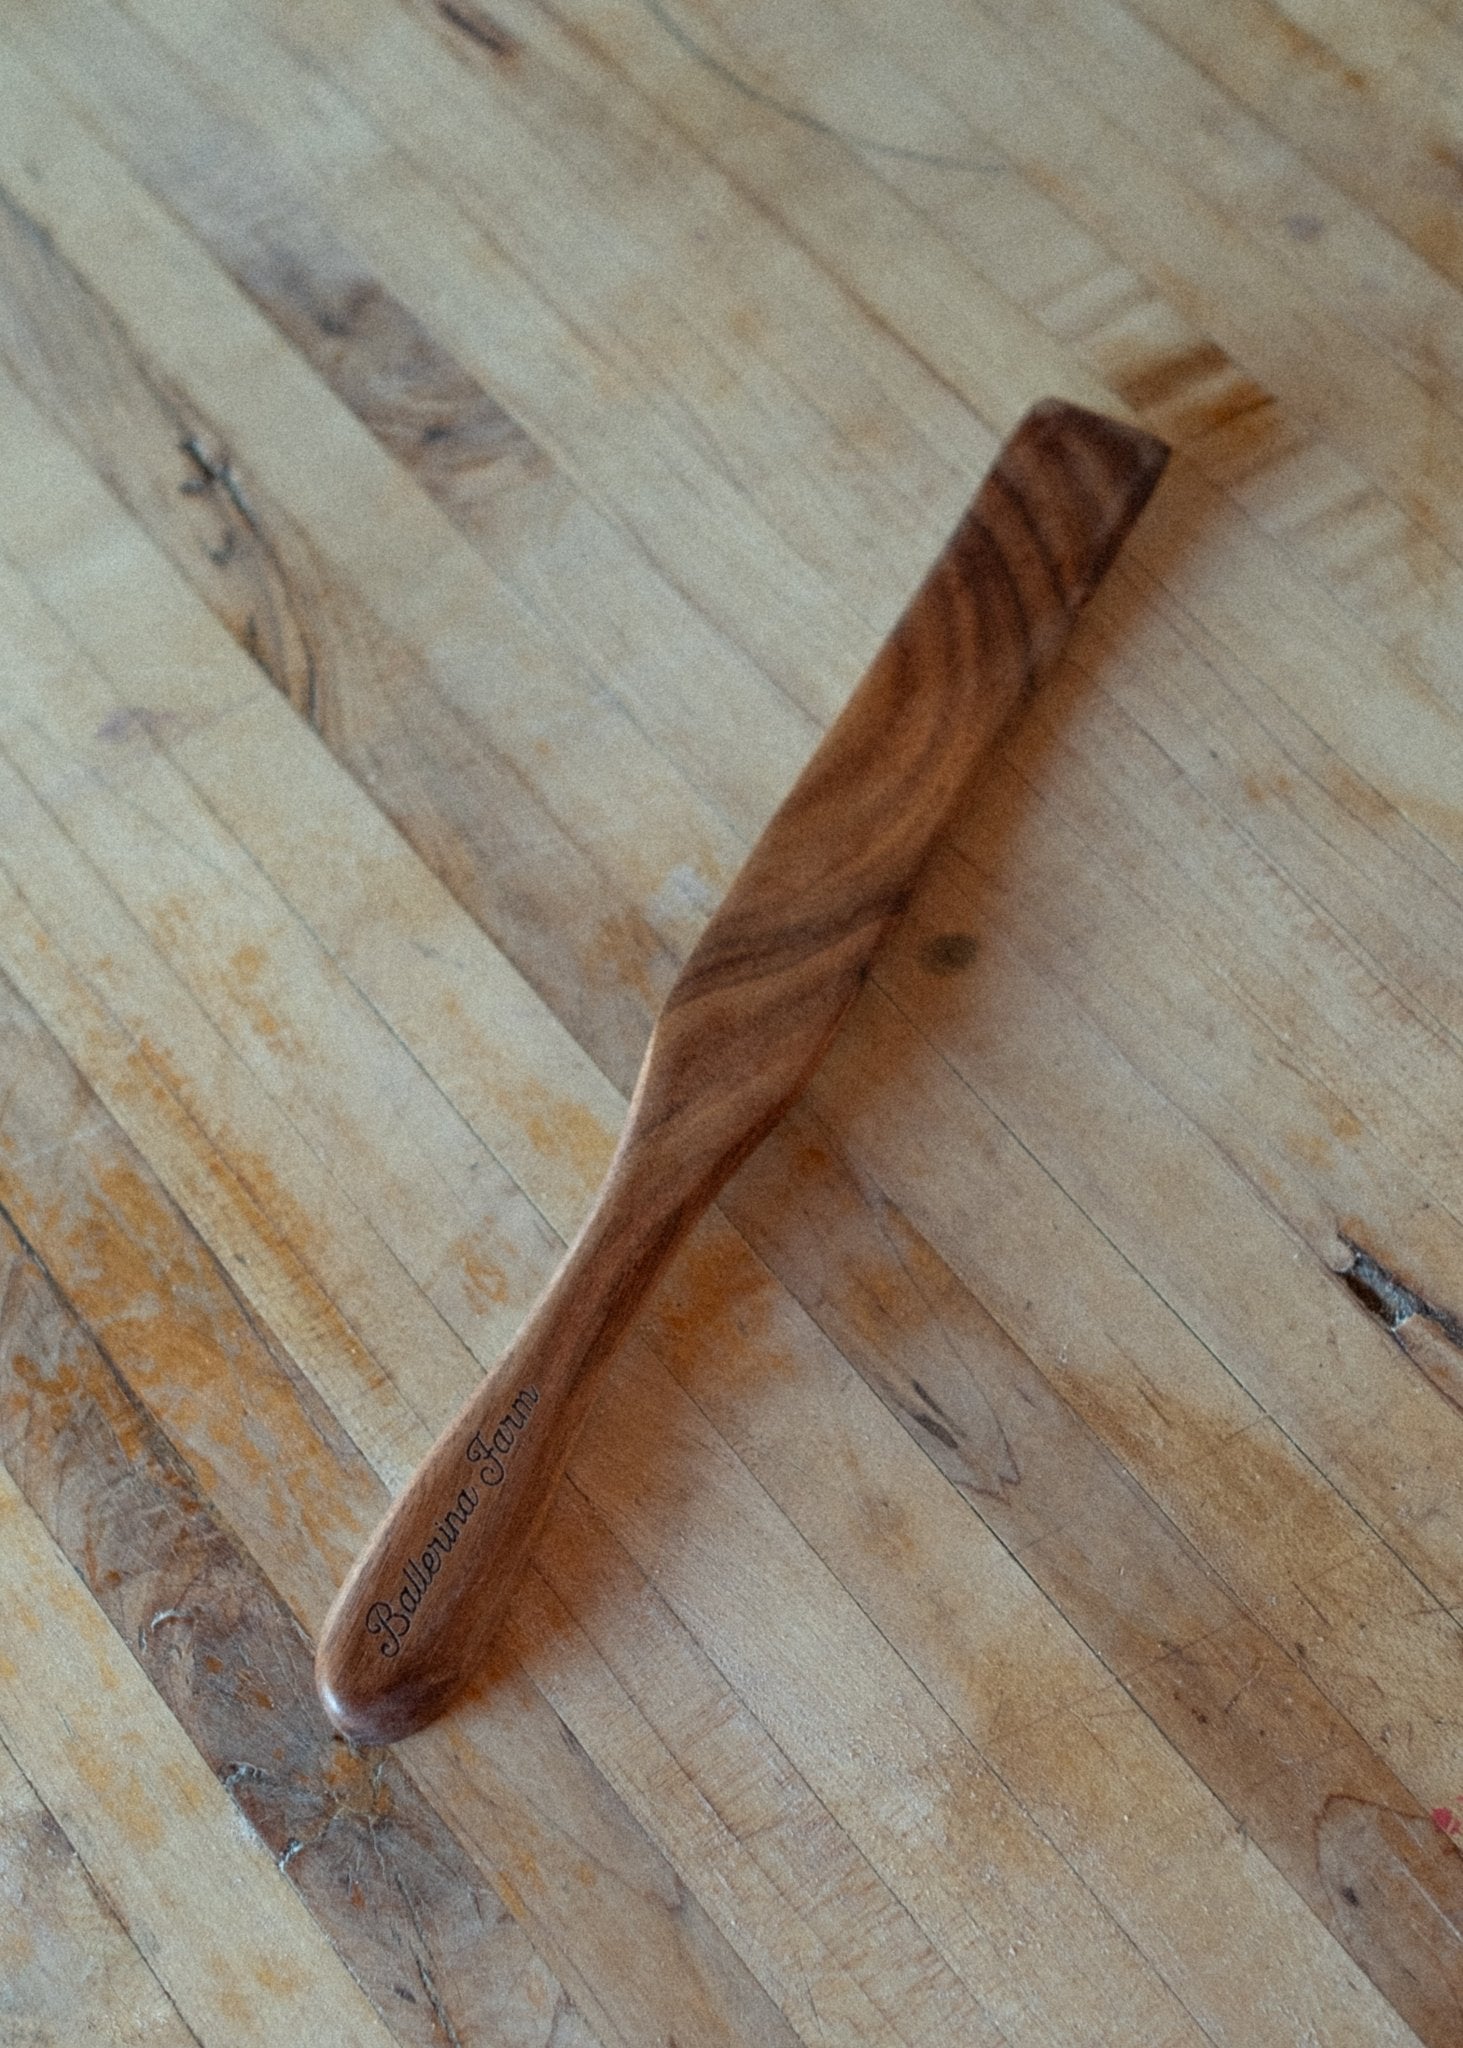
- Wooden Spatula or Spoon
*If your tap water comes from the city water supply, consider using filtered or bottled water to avoid traces of chlorine which may potentially damage your starter.
Introduction
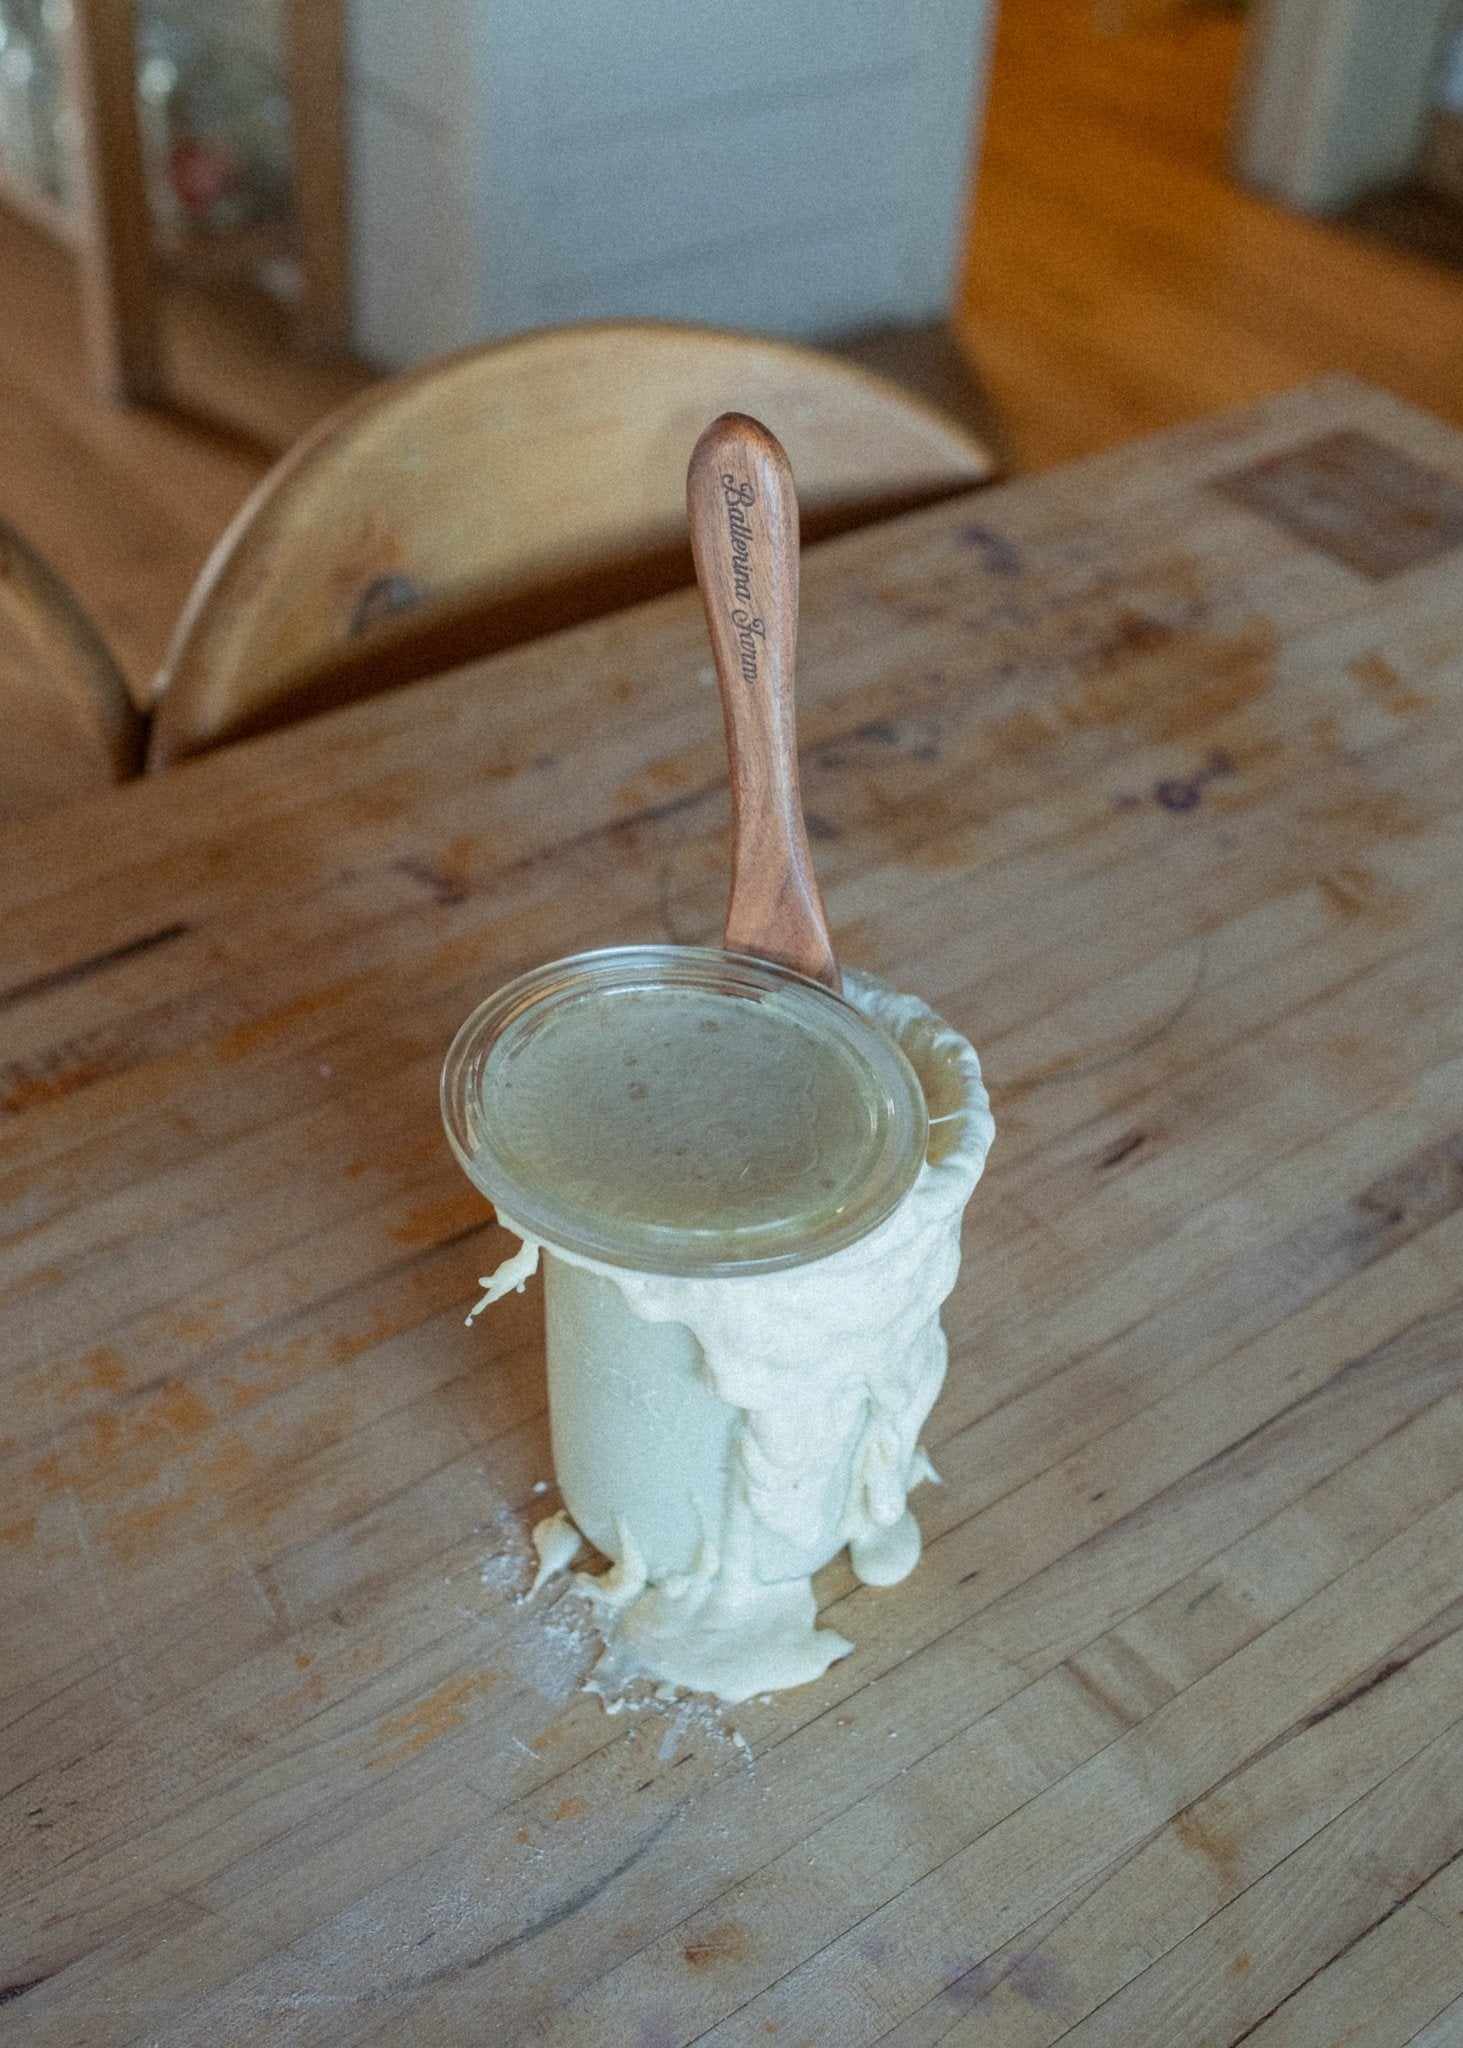
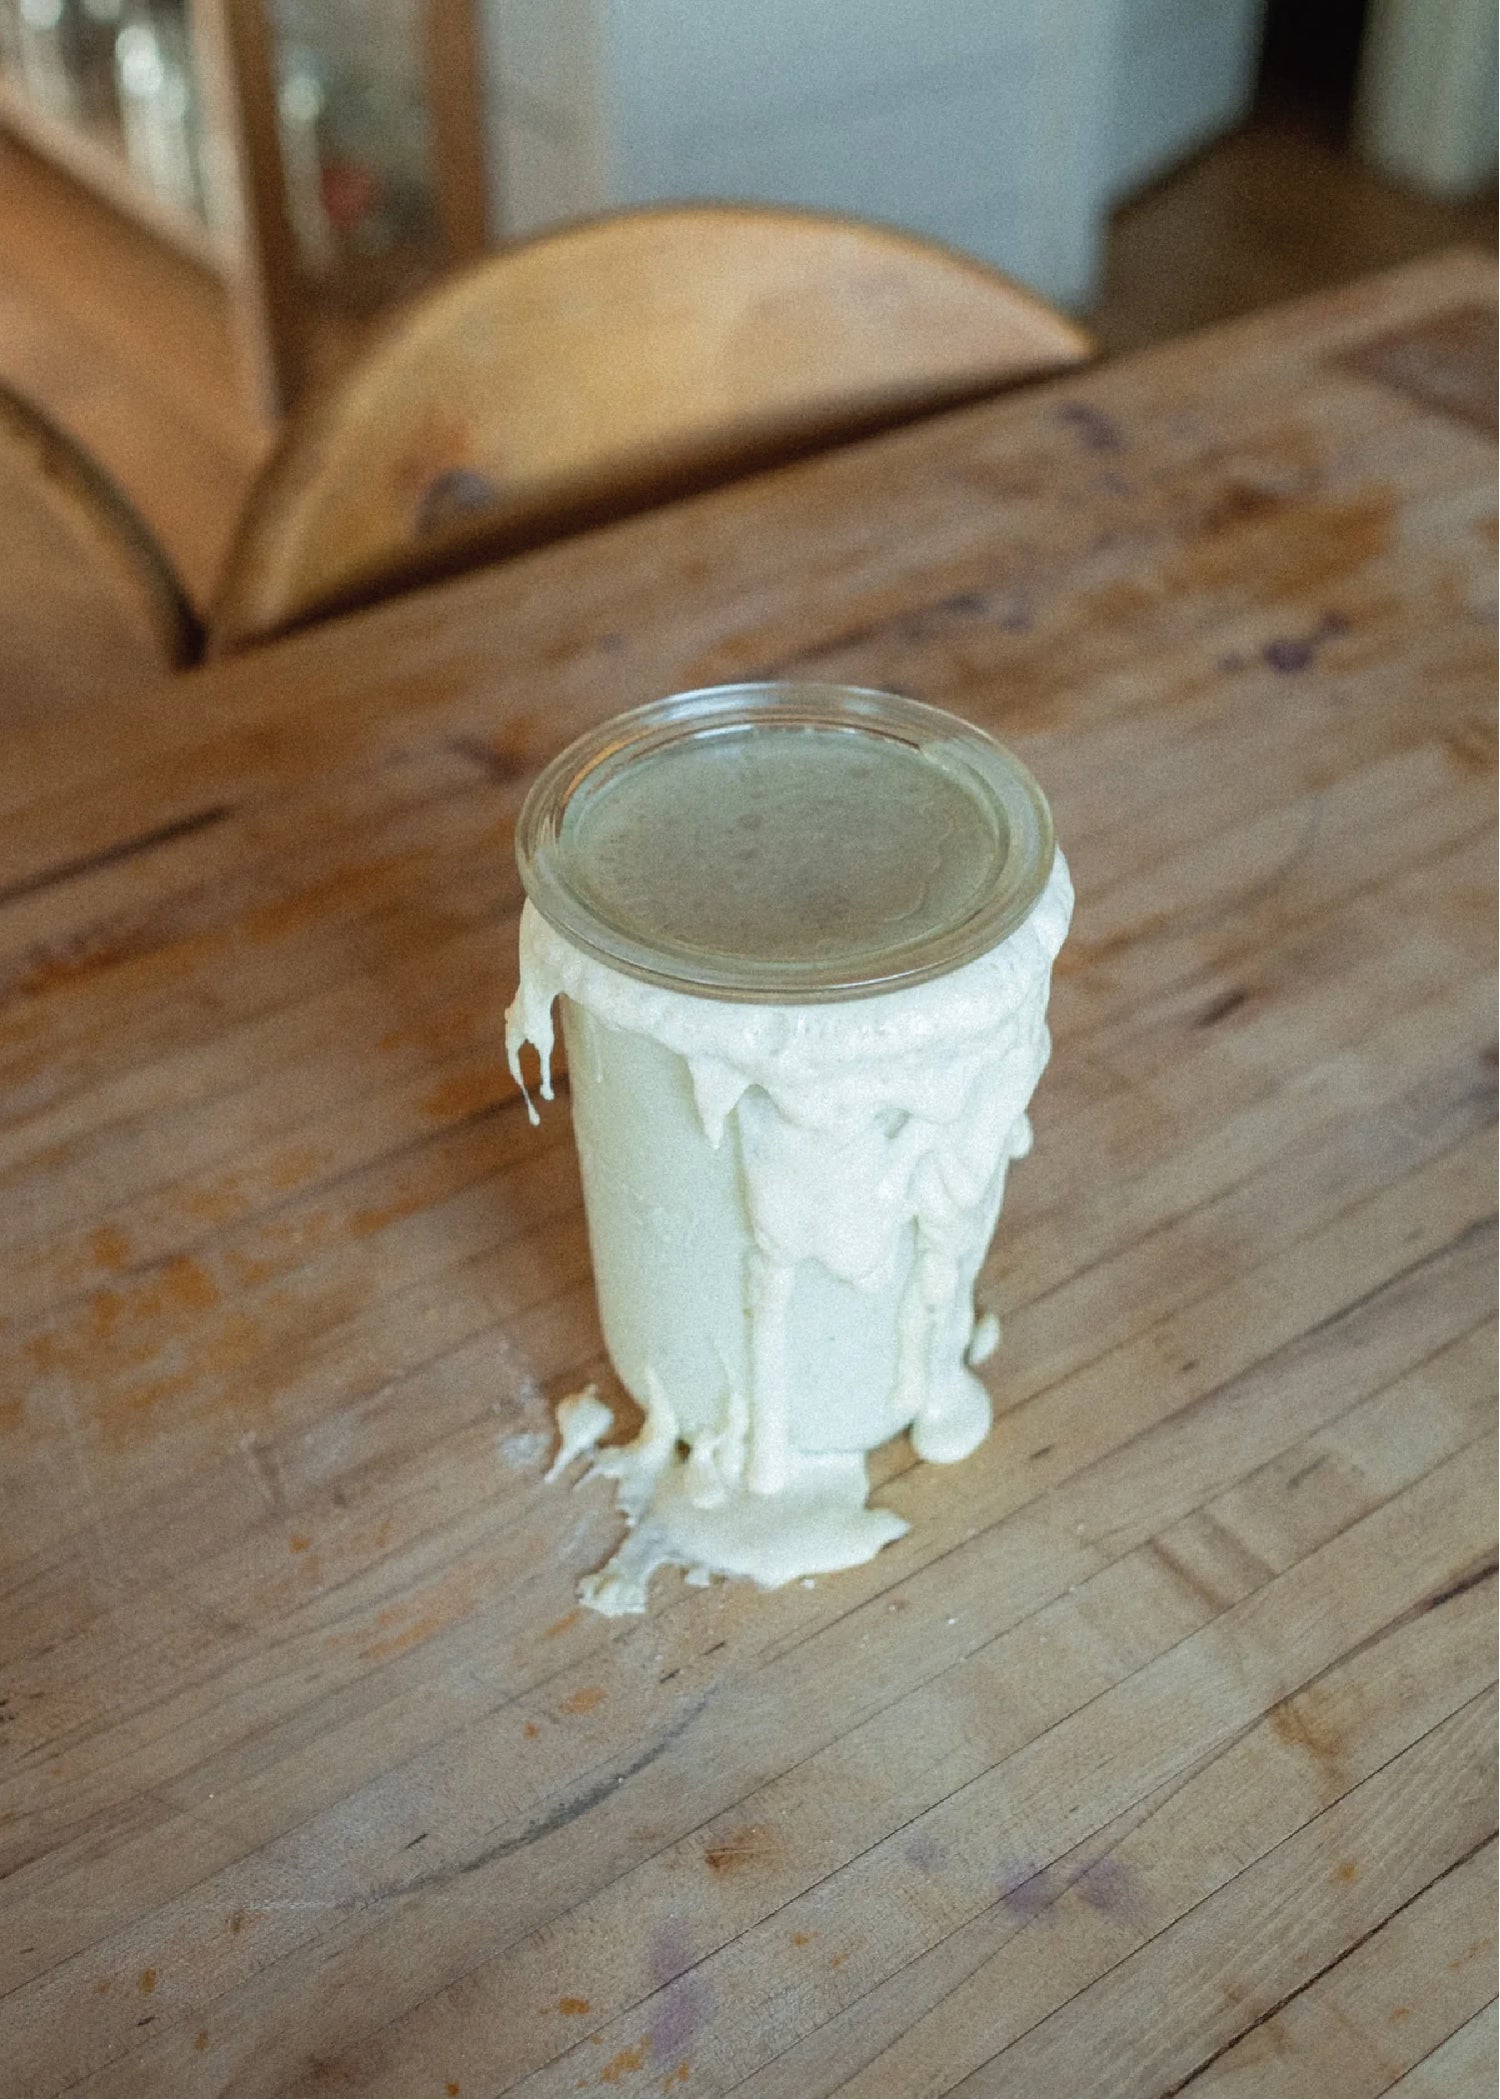
A sourdough starter is an active organism which means it needs to be fed regularly to stay healthy. After each feeding, a mature starter will grow 3-4x in volume in a 12-24 hour period and then begin to fall back down. I feed mine every 24 hours when I’m baking bread regularly. I find that my bread turns out best when I bake with a starter that has been fed and reached peak activity, before it has collapsed.
Feeding Instructions
Gather your two 1 quart glass jars, one with your current starter mixture and the other being clean and empty. Transport 30 grams of the starter mixture into your empty 1 quart glass jar and discard the remaining mixture in the old jar (or save it in a separate, sealed container in your fridge for discard recipes). Add 125 grams of room temperature water to the jar and mix well. Next, add 140 grams flour to the jar and stir until combined. Cover loosely with a lid and place it in a temperate location. Repeat daily.
Discard Notes
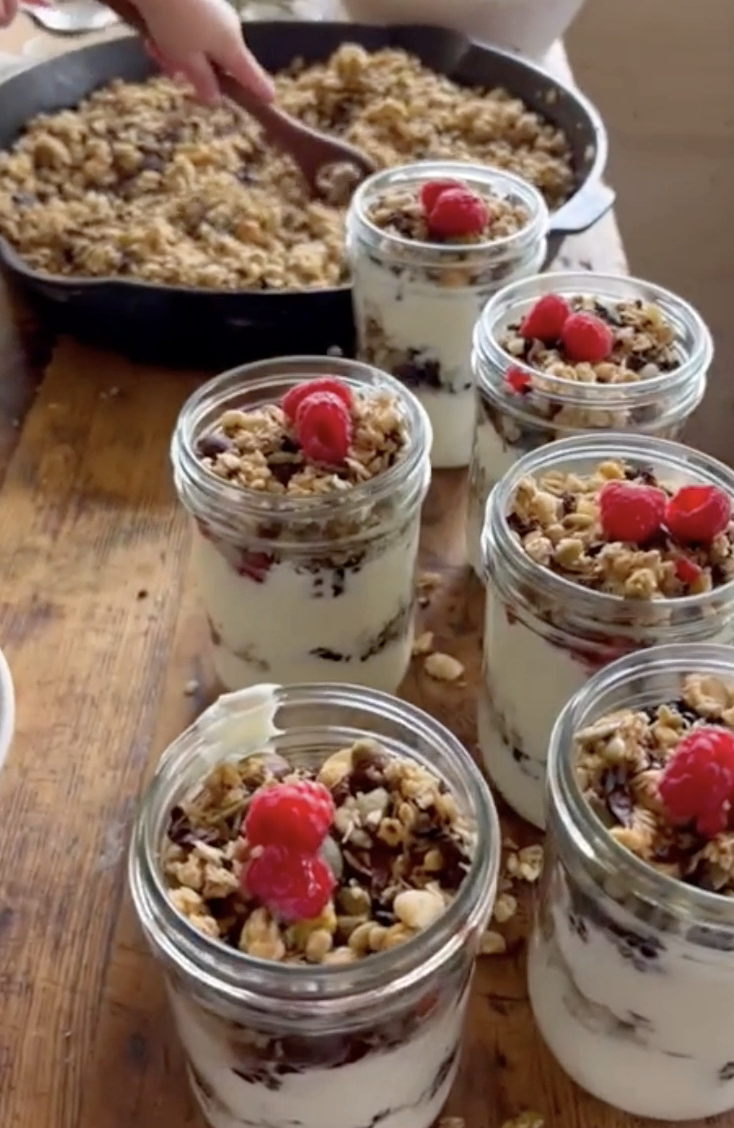
For the 2 jar method, you will always discard some starter, leaving the 30 grams required for each feeding. If you do not get rid of a portion of your starter at each feeding, it will require larger and larger quantities of flour and water to provide food for your Willa. 30 grams of starter is the perfect measurement to sustain our bread recipe. Wondering what to do with your discard? There are countless recipes online to help you keep this mixture from going to waste. We like to stockpile discard in our fridge because it lasts well without having to be fed and adds that sourdough taste that can elevate many recipes. Make sure to store your discard in an airtight glass jar with the lid sealed. Sourdough discard is best for using in recipes within 7-14 days of being discarded. If stored correctly, a mature discard (over 6 months old) can last for months in the fridge, even years due to its well developed yeast and bacteria colonies. This discard is best used as the first step to building a healthy starter and I would not recommend using it directly in recipes. A younger starter (less than 6 months old) will have discard that is best used within 7 days of refrigerating, before it turns too acidic. I suggest not putting sourdough starter down the sink as it dries hard like cement. If you aren’t planning on storing it, throw it away or add it to your compost pile.
Storage & Travel Notes
You may refrigerate your sourdough starter for longer periods if necessary. Cold temperatures slow fermentation, and will extend how long your starter can sit between feedings. To do so, make the lid airtight once the starter has been fed and fallen back down. You can keep it in the fridge for months, but must take it out and feed it once a week to maintain it. Depending on how long it has been refrigerated, your starter may require an additional 2-3 daily feedings at room temperature before it has resumed regular activity and is strong enough for baking bread. To test your starter’s strength, place a heap into a bowl of water. If it floats, it is strong enough to bake with. If your starter has been left in the fridge for a long period of time and has developed a thick, dark layer of liquid on the top, it can be revived. Pour off the liquid layer and feed as usual. Make sure to feed consistently for at least a week before baking bread or placing your starter back in the fridge. If there are ever any visible signs of mold on your starter it must be thrown away.